 |
| "A Dream Within" A Steampunk necklace using the Octopus, gears, and clock and dragonfly digital art, brass, copper, rivets, and micro screws, ice resin, and solder. I used the ball chain from Ornamentea Most all of the pieces can be purchased at Ornamentea I cut the copper piece, used the digital art from COBRAGRAPHICS on Etsy It is has a patina using liver of sulfur  I just love that octopus!  
I drilled the ball chain and used the heavy duty copper jump rings
  "A DREAM WITHIN" 
Ornamentea always a fun place to shop for me and Dusty to play!
 
Dusty Loves Ornamentea too!
Thanks Cynthia!
Cyber Hugs, Dawn Gallop
|
Thursday, June 13, 2013
A Necklace with ICE RESIN, Solder Stamping, Ball Chain, Vintage Papers, Rivets, and Screws with a STEAMPUNK Twist using the Ornamentea Products "A Dream Within"
Wednesday, June 12, 2013
A few GIFT Ideas with the Tiles and Vinyl great for Mother's Day, Father's Day, Teacher Appreciation, Birthday's, and Holiday's. Made with the Silhouette Cameo. A few Summer pics too.

This is one of the vinyl cuts from Silhouette Cameo it is a great quote from Henry Adams. Made on a 12x12 tile from Lowes. The stand is from the craft dept. at Wal-Mart. I also buy the stands from Hobby Lobby, Michael's, and AC Moore. I'm sure you can find them at the frame shops too, they are made for plate, and/or picture stands. I purchase the vinyl from Mario at VINYL VILLAGE
he ships fast, will do what you ask, and packs the product well!!!!

This is the Cape Hatteras Lighthouse cut from the vinyl on the Silhouette Cameo also on the 12x12 tile from Lowes. This frame came from Hobby Lobby. I love this one I made for my neighbor as a gift who collects lighthouses.

This one also done on the Silhouette Cameo, I made for my mother for Mother's Day this year. Again the vinyl from Vinyl Village was used.

Another one for my aunt, made from the vinyl on the Silhouette, I love my dog.

This one here I made for our school principal on a floating frame I bought from Michael's I designed the whole piece using several cuts from the Silhouette. Love how it turned out, so elegant. The vinyl worked well, I found a little trick in the process with the frames, is to step away for at least an hour and then they peel up without any difficulty. Here Colten is graduating from the fifth grade.....hard to believe all ready!!! The children did an amazing job on the presentation of the graduation! Once again our teachers ROCK!!!

Here is one I made for the Librarian at our school, Mrs. Brickhouse she lead the E-BoB the Battle of the Books team this year and at our pool party I had the children and parents sign it as a thank you to her for all her hard work and dedication. The kids did an awesome job!! Thanks again to our wonderful librarian. This is also a Silhouette cut and the 12x12 tile from Lowes. The vinyl from Vinyl Village.

I thought I would stick in a few pics of the fun we are having at the beach already this summer.
Dusty and Colten at the OBX
Pure Hipstamatic

Another vinyl creation of the LOVE made from the Silhouette using the vinyl I made this one for Alexis who is getting married soon.


A seagull on the beach.

The Avalon fishing Pier area


I will Always Love you! A Mother's Day Plaque made with the Silhouette Cameo using the vinyl. I made this one for Crystal for Mother's Day. Love this one!!
I hope you enjoyed some of these vinyl creations.
Cyber Hugs, Dawn Gallop
Tuesday, June 11, 2013
It's All About The Zoo Crew at the Virginia Zoo in Norfolk using the Silhouette Cameo with Vinyl and Tie Dying with Kids

everything......Now that the boys are out of school for the summer maybe I can sneak a few post in the morning or late evenings???? We shall see! I really do try.......but with today's social networks, it seems in some ways it's like a duplicate, but then again a much more detailed one at that! The T's-------This all started off with Mrs. Walker coming to Mrs. Savage and asking do you think we can make shirts for the K class to go to the zoo. Mrs. Savage called me and I was rolling off ideas.....I was thinking I should use the Yudu then I thought mmmmmm a lot of work for something simple.....so I revamped that idea and on my Silhouette Cameo from Silhouette America I designed "THE ZOO CREW"


Cooper dyes the tie dye shirts
I use the shelf stacker that you buy from Wal-Mart or K-mart or Target they stack together and this way when the children are squirting the dyes on the shirts any excess drips down on the paper towels and keeps the dyes from becoming muddy. I also get the squirt bottles from Wal-Mart in the kitchen section to mix the dyes in. Label your bottles with masking tape so you will remember the colors. The dyes sometimes are not what you think they are. The dyes can be purchased at Jerry's Artarama, look for Jacquard Procion MX Dyes, or at Amazon. Fill the bottom of your bottle up 1/4 inch to 1/2 inch with the dye using warm water. Shake well. Make sure you wear a mask and don't breath in the dye dust. If using the x-tra large bottles fill up to one inch of the dye in the bottom of the container. HAVE FUN!!
The iron on material is a heat transfer that you mirror the image on your machine I buy the heat transfer from VINYL VILLAGE.
Here is the link to Mario's homepage

Note the cool awesome paper towels. Mrs. Walker is having fun! Thanks again for purchasing these wonderful t's for the K class! YOU ROCK! Once you put the dye on allow the shirts to sit in a Ziploc baggie for at LEAST 24 hours I usually allow them to sit longer and I put them in the sun in the bags this helps to the dye to penetrate even more because it is warm. After the shirts have sit in the bags for at least the 24 hours remove using rubber gloves squeeze the dye out under running warm water. Rinse until the water runs clear, then hang out on the line to dry. This also helps for penetration of the dye. It allows the dye to "BAKE" in out in sun. Once dry you can now wash them in the washer, if you have various colors like a black and a red, don't wash together keep those separate. The dyes might fade together keep like colors together. If all the shirts are the same with the colors like seen here in the pic on the line wash together in COLD water. This will set the dyes. Hang to dry or dry in the dryer. You can now use the fabric softener and/or dryer sheets. Ta Da...... now you have beautiful tie dye shirts.

Tie Dye shirts on the line

The finished shirts for 40 students and teachers.

While at the camper the Memorial Day weekend we all tie dyed shirts and socks.

Dusty and Cooper using the Royal Blue dye at the camper

Here is a spiral tie note those paper towels underneath

Here is the finished tie dye socks
I found these at Roses which were like 97% cotton o that made it perfect to tie dye them! These are for the girls. They are BRIGHT!

Here is one finished shirt. I ironed on the zoo crew with a machine that I bought from Amazon from Fancier well we got like 10 shirts done and the machine quit working well the company gladly sent us a new circuit board. We now have a new machine. Thanks Amazon as always you ROCK!
Now some pics of the Virginia ZOO


The kids look soooo adorable in their shirts.

Cooper gets off the bus with Mrs. Walker!!! We love Mrs. Walker she is such a super person! ALWAYS Helps in any way possible!!

Dusty thinking should I really go with the principal???? Who also went with us on the trip.

Cooper and Daddy at the Virginia Zoo

Always trying to be creative LOL!
While we were waiting for the bus.

Lots of beautiful geese at the zoo. Of course the boys wanted to chase them. The geese were like yeah I don't think so! LOL!

We JUST had to get a drink according to the world of Dusty...and Cooper! So off to the gift shop we went they sell drink inside the shop when you come in the zoo. The PSE Brushes are Rhonna Farrer
at Rhonna Designs.

Shortly after it was off for Dippin' Dots YUM!!!

Cooper loves the Dippin' Dots!!

This has to be the most photographed spot at the zoo!! LOL!
The boys run every time to get on the Rhino and pose for pics!

The spider web rope is always so much fun!!!

Cooper starts to complain "I'M HOT"

Of course the REPTILES the boys love!!! They are so fascinated with spiders, and snakes!!! ALWAYS!

Dusty didn't want Cooper in his photo!
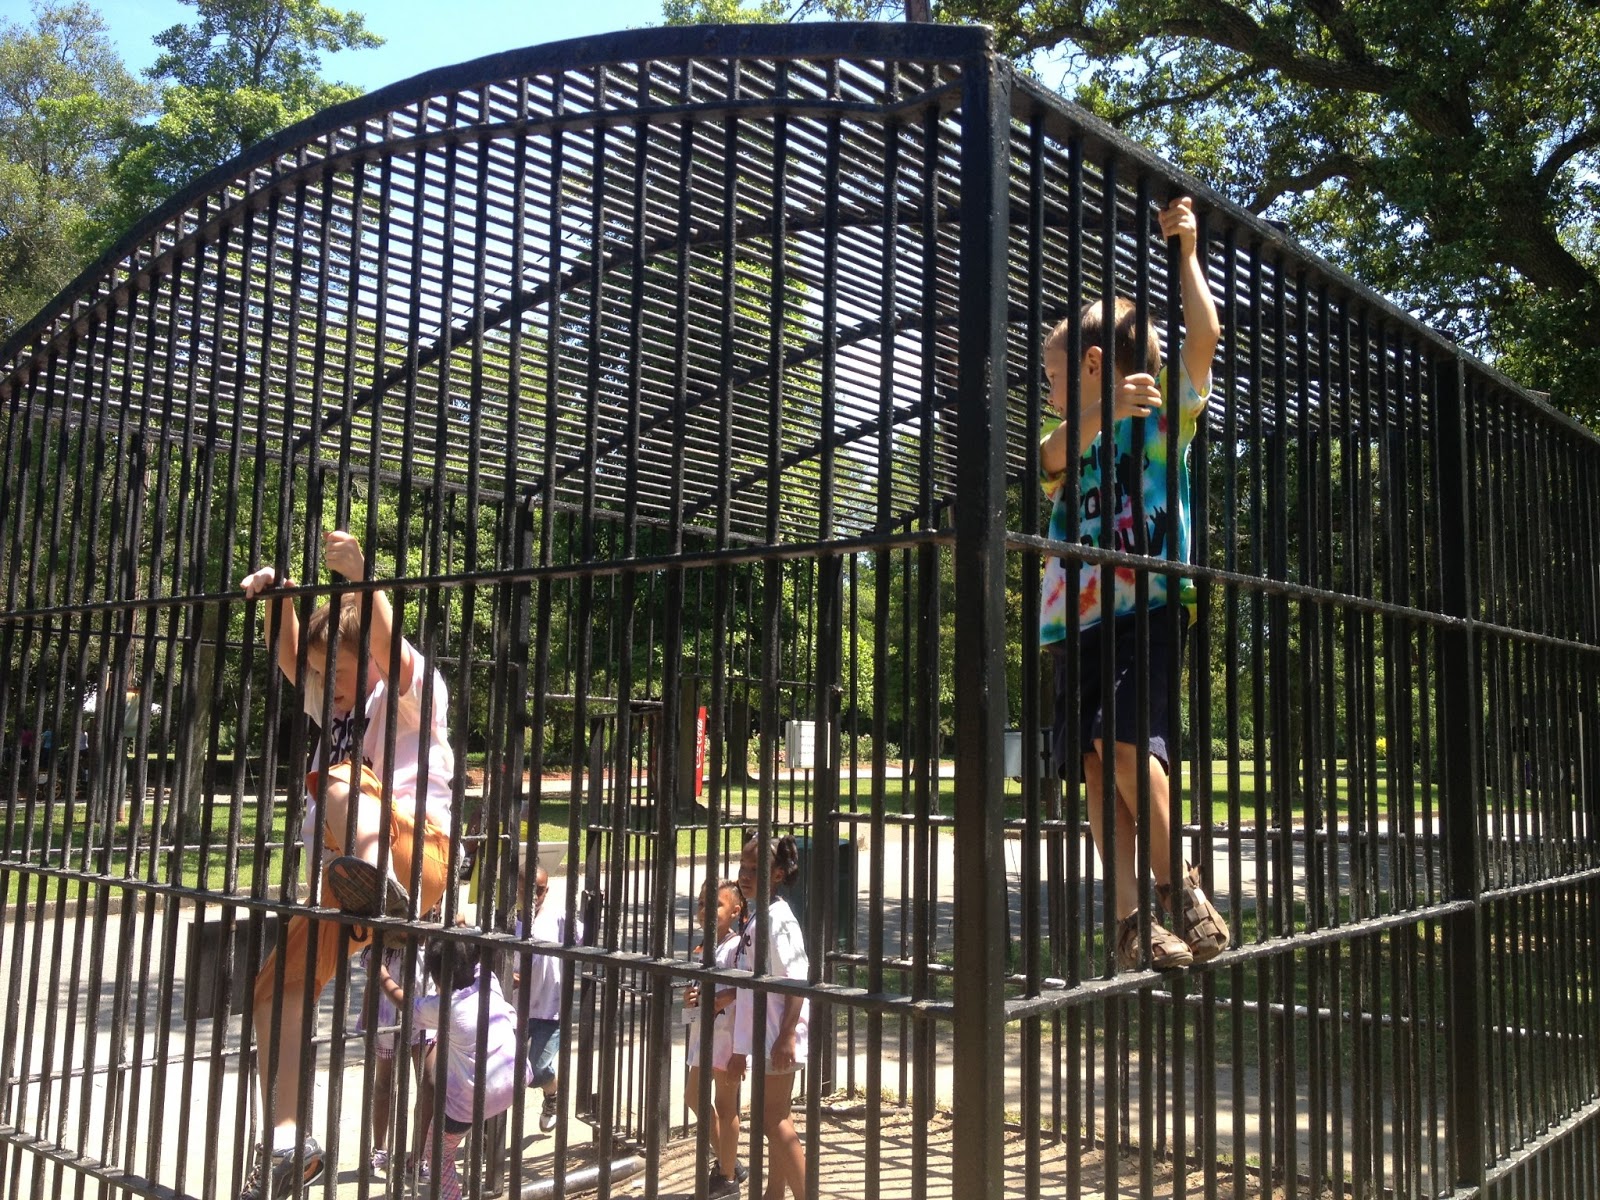

How cute is this sign???!! Perfect! "WARNING" Homo Sapiens Caution!

Dusty found a family of Geese when we were by the monkeys. How sweet!

OF COURSE!!! Yep that's my kid! I didn't see it and then I did after the pic was taken, haha! SO I thought yep a perfect pic!

The kids all had lunch over in the playground area and enjoyed some play time at the park.

It was yet again another wonderful day at the Virginia Zoo.
Thanks Kindergarten teachers for taking us!!!

On our way home we all stopped and got a 7-11 Slurpee, I got the Sugar-free Sprite and the boys got the Watermelon Wallop. #awesummer
Thanks so much all your support and I hope that this little word tutorial on tie dye helps anyone looking to make tie dyes this summer!
Cyber Hugs, Dawn Gallop
Subscribe to:
Posts (Atom)