Wednesday, November 20, 2013

ArtBLISS Art Retreat September 2013 a Look back at All the FUN!

ARTBLISS Workshops 2013 I love the pic of all us at the retreat. I'm in the back by the window.
 
This is a wonderful group of ladies and gentlemen. I have the best time with all of them.
If you are ever looking for a really awesome art retreat THIS IS IT!!!
 

One of the pics I added to my Instagram (see link on side bar)
 

I took the 3-Day workshop with Richard Salley and Jessica Papke
I had an excellent time!!! I sat beside wonderful people who you feel like you have known a lifetime it is such a blessing to sit beside people who are like-minded and enjoy the same things you do.
 
Jessica using the flex-shaft
 
One of the spinner rings I made in the class using copper and brass
 
Jenny and me
 
Shopping here at Christine Damms' booth


Cindy has made an amazing blog entry on the whole event look HERE
she and Jeanette co-coordinate the entire event.
 
Again this year I coordinated the charm swap here we are all together swapping our charms
We had 16 participants where we each made a handmade charm to swap with.
Jeanette provided us with bags in which to fill
our wonderful creations
The bags for the charms

Here we are packing the bags with the charms


Bags almost full of charms
 
The charms I made for the swap

The pics are not so good because I took them at the hotel at night

The copper charm

I love the birds I used
 
Here are the spinner rings I made the first day in class
 
The ring I made on the second day of class

 
This foot sterling silver ring is my favorite!!!
 
Here I am in my friend Julies necklace she made me wearing both of my rings
 
 
The boys came along this time too. They always enjoy heading into DC for the day.
 
Dusty holding up the Capital Bldg. in DC
 
The International Spy Museum which they thought was amazing, so if you ever get a chance to visit do!!! They had a lot of postcards there and since I collect postcards and belong to Postcrossing where I have sent and received a many a postcard. Also on Swap-Bot I postcard swap. I was thrilled with all the postcards Bruce and the boys picked for me. Even though I would have loved to be with them, I do need the art time too.
 
The boys also enjoy the hot tub even though we have one at home you know the hotel tub is a lot cooler to be in!!!
 
Cindy Wimmer had her new book at ArtBLISS which I also blogged about HERE more pics etc.
 
Cindy Wimmer and I at her book signing event at ArtBLISS
 
Cindy Wimmer signing my copy of her Book The Missing Link
 
We enjoyed wine, taking pics and shopping...
 
Shopping of course I bought a lot it was too hard to resist

I bought this adorable head pin (bobby pin from Karyn) you can find her HERE
The adorable bobby pin I purchased at HERE
 
I have been sporting the bobby pin a lot and have got a lot of compliments on it you can see her stuff HERE
 
That last night we all went to Cheeburger Cheeburger  and boy did the boys ever enjoy that!!!! They got to color and do games while waiting for their food.

Dusty loves to draw and color while he waits. Plus the drinks came in old style mugs 

Their food came out in Chevy cars which was the greatest!
 
Cody's burger talk about HUGE

The vegan burger with sweet potato fries...mine of course and it was YUM!
 
This is their POUNDER Burger look at how big it is note Cody's hands and the burger and if you know Cody he is big himself over 6 ft tall 

If they completed the challenge they got to wear the hat and hold the burger and a pic to go on the wall. Colten completed the challenge too.

Cody after he completed the challenge.
 
Here they put their pics on the wall

 
Colten signed his pic and put on the wall of proud one pounder challengers.
 
Cecilia's beautiful rings

Some of the 3-ring circus students and the teachers.
 
Now I want to share with you some of the charms that were in the bag
This bag is filled with the charms below

The packaging is so creative and fun to see what's inside too

 
Jenny's charm clay and copper with a stamping of AB 13
 
Vicki and her beautiful heart made of copper and a soldered ring.
Vicki hand sawed all these hearts herself.
 
Here is a beautiful song thrush egg charm by Tesori Trovanti Jewelry
 
A lovely sooooo beautiful heart charm by dear Melissa Meman
 
Another clay charm by Anna Hudick
 
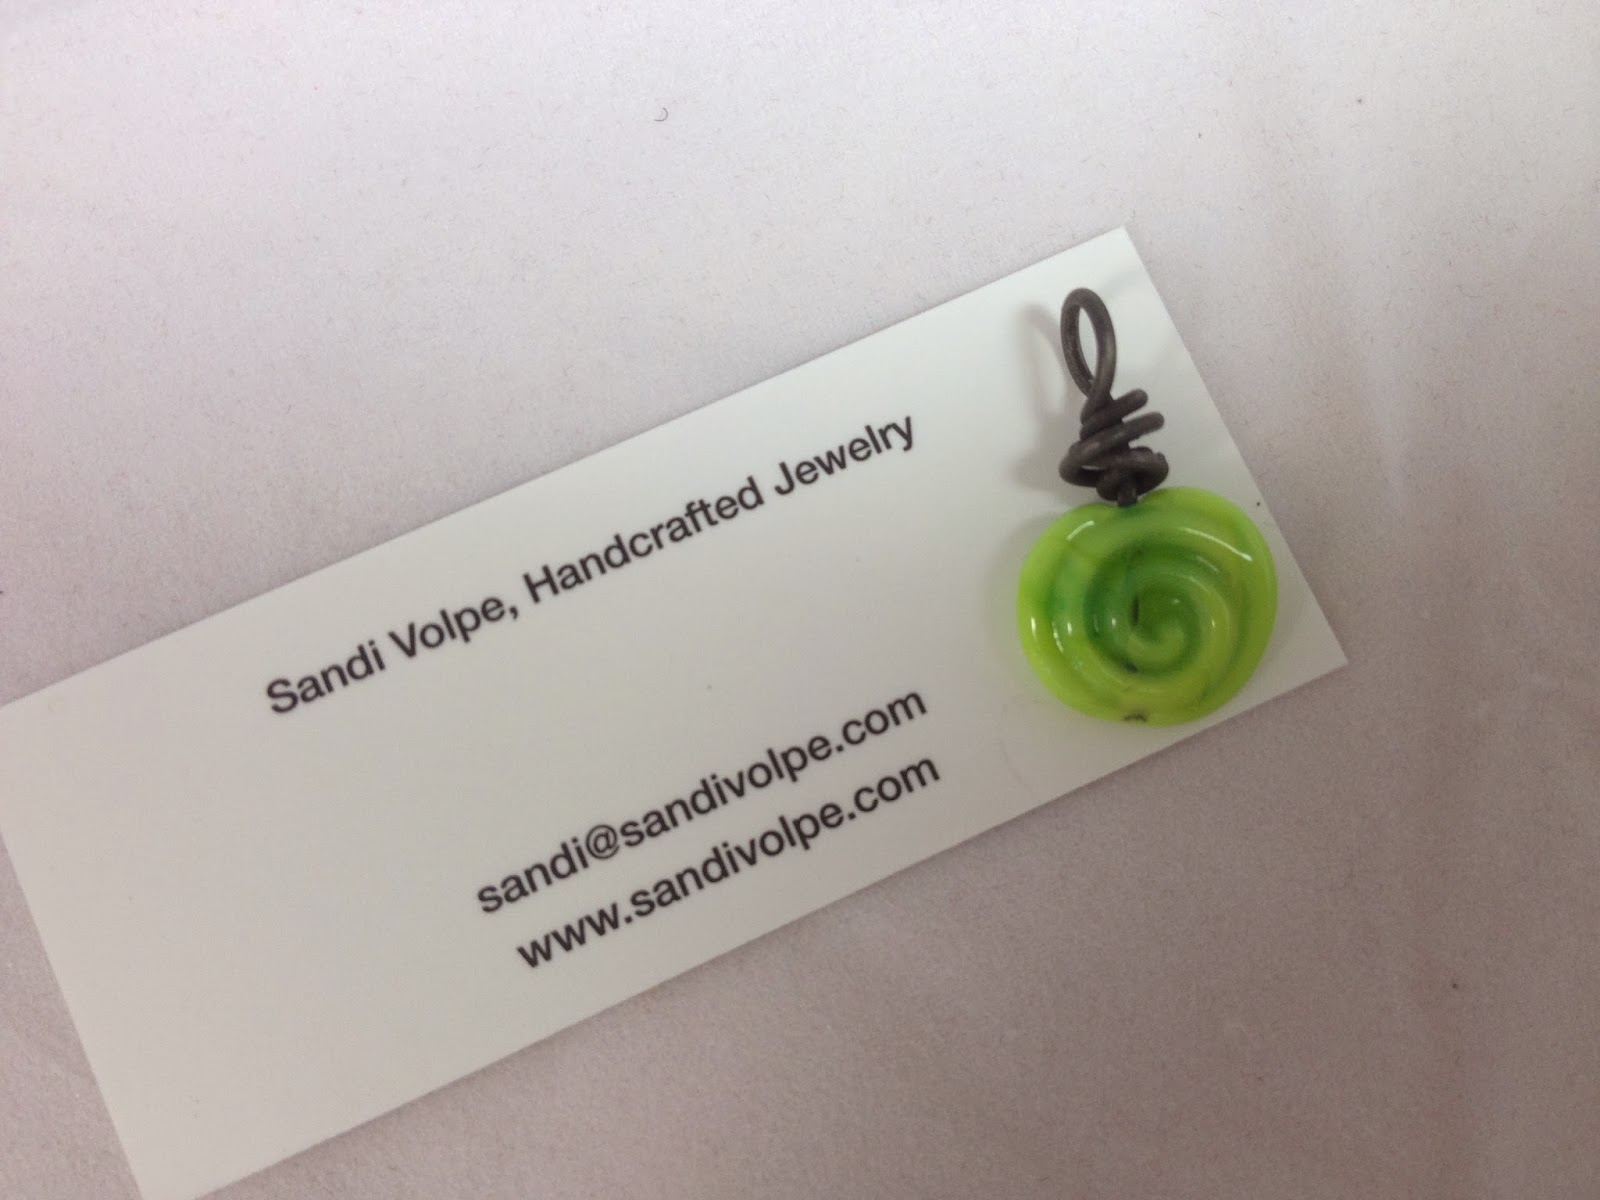
A stunning glass bead in my favorite color......by Sandi Volpe
 
This precious glass bead charm by SueBeads
 
A marvelous clay leaf bead with a stunning glaze ....oh so beautiful
by sweet Diana of Suburban Girl Studio
 
a lovely circle and bead charm by sweet Anne
An adorable heart with glass wire wrapped headpins and hand stamped
by Yee of the Glass Turtle
 
The duct tape envelope and shrink-it charm by Beth
 
A lovely leaf charm by Karen Totten

My gift from Jeanette and Cindy, thanks so much the card and gift are awesome!
 
Again I hope you enjoyed all the fun that was had at ArtBLISS
 
Until Next time....Smooch!  


post signature 


Wednesday, November 13, 2013

Tutorial for Wire Wrapped Charms, Shells, Sea Glass, Rocks with Beads and hanging charms, A DIY Wire Wrapping.

Last year I did a workshop with the Tidewater Artist Group where I taught how to make these easy fab wire charms for the summer, or anytime. See link HERE also you can see other ones I have done at other times...just more pics HERE and again HERE they are really nice big pics.
 
So before the workshop I created this fabulous tutorial handout for the group. I wanted to share with you finally.....I started off with supplies.
SUPPLIES
-Wire Cutters, Round nose pliers, flat nose pliers, chain nose pliers (these can be purchase at AC Moore, Michaels, or Any jewelry supply place. I originally bought all mine from http://www.ornamentea.com/
Last year I was lucky enough to get a new set at BeadFest I bought the Tronex from Beaducation they had a booth at BeadFest.
If you have never done this before start off with the least expensive set its all you will need for this.
-20 Gauge wire silver (you can use sterling once you get the hang of it but just start off with the inexpensive 20 g craft wire...you can use gold, copper, or even colors if you like. I use Artistic Wire when I use the color wire. The wire can be purchased at the jewelry supply stores, or the chain craft stores.
 
-Small e-beads glass ones or any kind of beads that fit on your wire, test them first.
-Charms if you like I use several charm shops on Etsy like http://www.etsy.com/shop/winecharms
 
-Any kind of small pebbles, rocks, shells, sea glass, corks, cabochons
-file such as a jewelers file or even a fingernail file, or even one you have in the garage
-Ruler
Start with the charm of choice and gather your tools
 
measure your charm then round up to the next number (so if its 1 1/2 inch charm round it up to 2)
then the number by five to give you 10...so you will need approx. 10 inches of wire. Cut two 10 inches of wire from the wire of choice. Using your wire cutters. Then put both pieces of wire in your index finger and bend over it should look like this...see pic below
Now using your other hand twist one side of the wire then using your tip of your finger or the glass, cork etc. as a template twist the other side of the wire.
 
It should look like this now. If you need to open the space up with your flat nose pliers. Now insert the charm of choice whether it is the cork, glass, shell, etc..
 
here the charm is sitting nice in the opening
 
Now take the wire and bring it up, bring one piece of the wire to the front or the charm and the other wire to the back, do this on both sides. Twisting again.
 
it will begin to look like this, this is where you can add charms, beads, etc.
Continue twisting from front to back until you reach the top of your charm now using your round nose pliers bring the wire up and around the see the pic. Then wrap the rest of the wire around the neck of the charm...or get creative and add circles, etc.

Cut the extra wire off and now file smooth you don't want any rough spots on the wire. If you are using copper cored wire be careful when filing or you will take the silver to copper. Same goes with the colored wires. If you need to flatten some of the wire you can use the flat nose pliers now.
this is where you can make bends and grooves in the wire adding shape and also tightening up the wire. It also adds to the look.
 
I recommend a lot of books by artist on wire wraps that are very helpful, in fact I own these:
1. Making Wire & Bead Jewelry by Janice Berkebile and Tracey Stanely which I have met both and are wonderful people, I even have had a class with Tracey who I adore!


 4. The Missing Link: From Basic to Beautiful Wirework Jewelry by Cindy Wimmer
now Cindy's book just came out this September which I had her sign at ArtBliss

 I have known Cindy for almost five years now and she is the sweetest most creative person you could ever meet!!! Cindy is the BEST! Her new book is totally awesome!! A must have for any wire work jewelry artist.
Here is Cindy Wimmer and I at ArtBliss
 
Cindy Wimmer signing my copy of her book
 
I love this one of Cindy Wimmer signing the books I put this one on Instagram  (see my link on side of blog) that night at ArtBliss.
 
Also wanted to share a few pics of the grand babies and the boys.....
 
Abigail and Cooper painting up in our spare room/part of the studio
 
Skylar edited this on my IPhone
 
Dusty catching a fish. He loves to fish.
 
 
The boys recently had spirit week at school and this day was Rock N' Roll T-shirt day.
Coop is really jamming with his air guitar.
Hope you enjoyed the post today.
Have a great week!  


post signature
Related Posts Plugin for WordPress, Blogger...