Tuesday, December 14, 2010

Recipe #14 Putting on the Ritz and a Cricut Cake Cover


Finished and ready for gift giving

Yummy!!!

Ingredients for Putting on the Ritz

Chop chocolate into small piece using a knife then microwave to melt

sandwich peanut butter between two Ritz crackers

Dip sandwich Ritz crackers into melted chocolate

sprinkle with colored sprinkles of choice for a festive look the children will love it also great fine motor skills

allow to cool until chocolate hardens (you can freeze until hard) then serve or store in freezer until ready to serve place in an airtight container

Okay...so I gave Cooper the bowl to lick (it was not much at all)
he used every finger licking one at a time.

The cover I made for the Cricut Cake which fits the colors of my studio kitchen
        Hello again...it seems to get later and later everyday...but yet I can't wait to post just to tell you these exciting fun EASY recipes. I just have to wait until everyone is in bed here lately, even closer to the Christmas it seems I have more and more to do....I know everyone does for the fact!! Today's recipe #14...yikes only 11 days now until Christmas.....my oh my and I have so much I wanna share...well today is a fun super easy one and yet a fantastic snack, well to some extent. This one I have been making for many many moons and always a big hit whether at a party or just an afternoon snack. They can be used from elegant to down home hoe down.
Putting on the Ritz
2 sleeves of Ritz cracker
1 cup of peanut butter no need to measure just spread on and sandwich
1 whole bark of chocolate (white or dark)
Wilton sprinkles or choice
Chop chocolate into small pieces using a knife and place in microwave safe dish, spread peanut butter onto crackers sandwich style, melt chocolate in microwave starting at 1 minute then 30 seconds then 15 second intervals stirring between each cycle of cooking. Once melted stir well at this stage you could even add flavoring oils if you chose to...I don't on these usually but have added  peanut butter oil flavoring but really no need.  You can use candy dipping tongs but trust me your fingers work just fine and the children will like that too...lol! Now lay on tray or Parchment paper sprinkle with sprinkles of choice. Can place in freezer to harden or just sit on counter until chocolate is firm. Package for gift giving or enjoy!! Super easy!! 
       The little boxes for gift giving are from Michael's (store brand type) they fit perfect in and look nice. Real inexpensive. Let me know if you bloggers in blogdom are trying any of these yummy recipes..it sure brightens my day!!! Thanks for the emails too!! :o)
        The Cricut Cake cover I made tonight after I made dinner, Sushi...my favorite!! It took less than no time to make and the fabric I had for ages in my stash. The red is the colors of my studio kitchen...it looked so nice done ...don't ya think!!! Until tomorrow....tomorrow is for the chocolate lover in your life!!! Cyber Hugs, Dawn Gallop
        

Monday, December 13, 2010

Recipe #13 Peanut Butter Balls As Recipe's to Christmas Continues and our "big"snow

Peanut Butter Balls in a cute snowman box

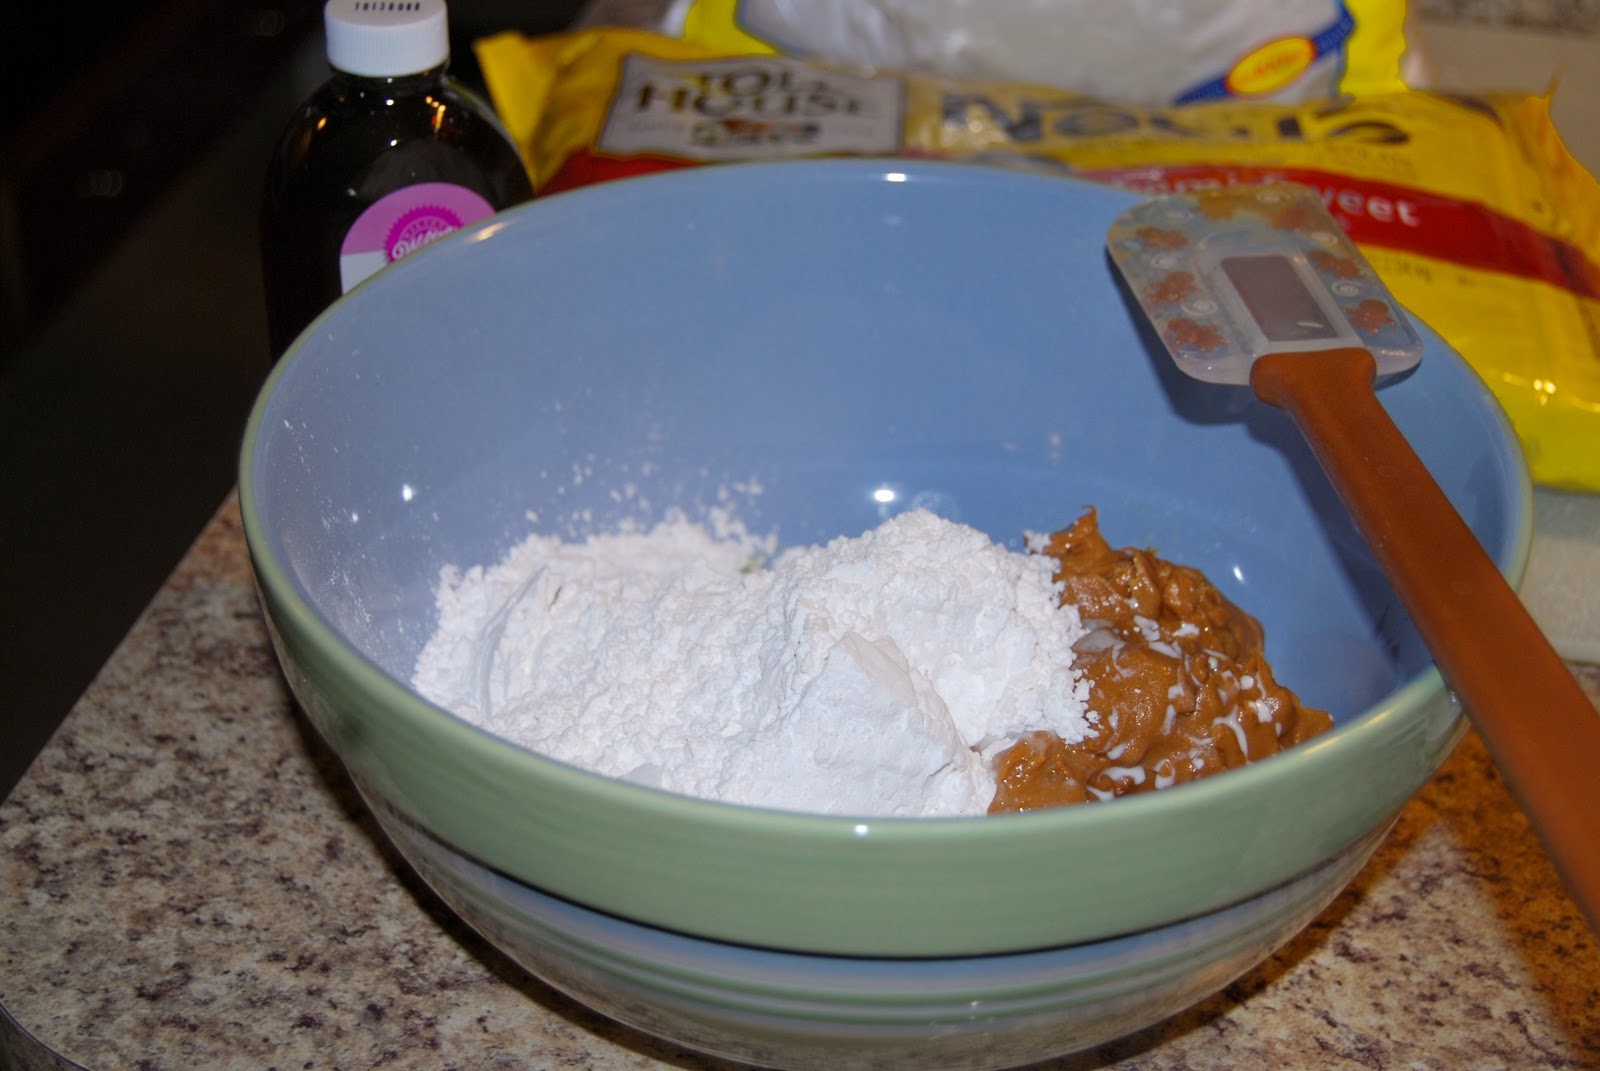
Ingredients for the Peanut Butter Balls

Melt 1/2 stick of butter/margarine

Peanut Butter/powder sugar mix together

blend well

roll balls just like clay/Playdoh

okay boys stay out of the chocolates (the morsels)

Melted Chocolate

now dip the peanut butter balls in the chocolate

Dipped peanut butter balls allow the chocolate to harden

Serve or freeze, great for gift giving in that cute little box

My morning routine tea and a great book

Dusty in the snow

Faster daddy!

Pull daddy!!

an old Radio Flyer in the snow

snow on the swing

Oh no the laundry won't dry today

It's SNOWING!!!

Run Cooper RUN!!!
Winter  December 2010
Hello all bloggers,
    Welcome to day thirteen of Recipe's to Christmas, today I am bringing yet an extreme favorite of my family.  I guess by now you have realized that we like peanut butter>>>!!!??/?!!! LOL!!! Yeah this is a real favorite of them all!! Amanda found the cute box at Dollar General for $1.00 perfect for giving this delicious peanut butter balls. Thanks Amanda! Great thinking!!
       Today we were blessed with some snow...and like I have said before this is BIG for us...and now we have had two snow falls already....keep it coming...it is fun for us because we hardly ever get it...the boys love it!! I just wanted to share some of my early morning pics...before daddy went to work!! WOW!! I even went out in my pj's!!! We had a blast, we hardly own winter wear because usually our winters are mild and all you really need mostly is a jacket....but this year we need winter wear.  The snow suit Dusty is wearing I have had since Jr. was a baby and then I bought it at a thrift store about 24 years ago...everyone has worn it...yeppers all nine! We had other ones but they didn't last the little blue snowsuit.  Too cute! It just has that old look. 
       Peanut Butter Balls
1/2 stick of butter or margarine
2 cups powder sugar
1- 12 oz. jar of peanut butter (I use crunchy, but creamy works too)
2 Tbs. of Half/Half
1 tsp. of vanilla
12 oz. of Toll House Semi sweet morsels
Mix together, then form with hands rolling into a ball, this is the fun part...the children love it! Chill in refrig for at least 2 hours or over night. Using a 12oz. bag of morsels melt in microwave for one minute then for 30 seconds then fifteen stirring between heat cycles..until melted. Get no water next to your chocolate. Dip peanut butter balls into chocolate until coated using a candy dipper or toothpick or even your hands.  You can decorate tops with a pecan or any cute stuff, or leave plain. They freeze well!! Yummy!!
This is a great recipe with children they can enjoy making the balls and dipping. You can use your flat skillet on a very low temp to keep chocolate warm. Around 98 degrees. The children can each have a bowl of chocolate and some of the balls they formed......even the snakes dip too..lol!! Tomorrow is a fun easy recipe too stay tuned. Enjoy!! Cyber Hugs, Dawn Gallop

Sunday, December 12, 2010

Christmas Bliss Card with Swiss Pixies Birgitta and Recipe #12 Divinity

Swiss Pixie Card Using Basic Grey Jovial Collection

Christmas Bliss

Close Up of Flower made on the Silhouette using many sizes

The Tim Holtz Ticket

Ingredients for Divinity

Mix sugar, corn syrup, salt, and water on stove top stirring until sugar is dissolved

While the sugar mixture is reaching temp beat eggs until s

Temp must 252 Degrees F hard -ball stage

When temp reached pour slowly into bowl of egg whites

Mix until the shine is gone

Enjoy!!!
              Hello I am serious late today but I had to go out to do some Christmas shopping while hubby was willing to go. We met Beverly for lunch which was very nice. Continued on our quest for gifts.....we did pretty good today I must say.  Wanted to bring you the card as promised, and for the challenge over at A Spoonful of Sugar Challenges such awesome cards on the challenges...check them out. The card is made using the Basic Grey Jovial pp line....oh so pretty.  I used Copics to color the Swiss Pixies Santa Birgitta by C.C. Designs...so cute. Also used the Prisma colors to shade with. The ball on her hat is made using Marvy liquid applique, she outlined with the Copic Spica glitter pens. I cut the oval shape with the Silhouette and the poinsettia, I resized the poinsettia and took it apart. The leaves are on old holly leaf die from Quickutz. Inked using Tim Holtz Distress Inks, the stick pin, ticket and flourish are all Tim Holtz. The lace is Webster's Pages and the punch is a MS punch loopy. The cardstock is American Crafts. Glitz on the poinsettia flower make it sparkle. Hope you like it.
                The recipe is #12 wow, getting so close my kids ask me everyday "How much longer until Christmas?" Thank goodness to my awesome blogger friend Sherry at Aunt Elmo's World for putting up the countdown to Christmas or I would have to think everyday LOL!! Thanks Sherry I added it to my blog too!!
The recipe comes from my Great-Grandmother Faye her Divinity recipe, my aunt loves it so much and we really like it with the walnuts but my aunt wants it plain. I have made this jut for her. So tasty and sweet. We really like it.....but watch out it can be addicting...LOL!!
Faye's Divinity
2 egg whites, at room temperature
1/2 cup of light corn syrup
1/2 cup of water
2 cups of sugar
a pinch of salt
1 tsp. of vanilla
1 cup of chopped walnuts (optional)
Using parchment paper line a pan or counter with to place candy on when allowing to cool. Separate the egg whites in a bowl that you will use to pour sugar mixture into. Have everything ready and move quick it also helpful to have an extra hand at making this just for basic needs while working.  Mix sugar, salt, water and corn syrup into a pan and cook on medium-high heat stirring until sugar is dissolved then allow to boil using your candy thermometer watch as temp rises to 252F Degrees the hard-ball stage. While sugar mixture is reaching temp using a hand mixer stiffen up the eggs but not dry.  When temp is reached slowly pour mixture into eggs and mix using a hand mixer on high speed. Continue beating adding in vanilla and the walnuts if you choose to at this point. Once mixture become not "shiny" anymore spoon unto the parchment paper allow to cool completely. This "divine" mixture can be kept in an airtight container for two weeks or frozen between parchment papers.
I hope you enjoyed this recipe. Have a wonderful night! Hugs, Dawn Gallop

Saturday, December 11, 2010

Homemade Irish Cream Liqueur Recipe #11

Homemade Irish Cream Liqueur

A cold glass to share
Etched using the Making Memories Slice and Cricut Vinyl

Ingredients for Irish Cream Liqueur

Blend well on liquid

Pour into prepared bottle

Picture I took today in the woods

The boys and their fort

Dusty

Coming thru

We enjoyed a pizza in the oven despite the cold rain

        Hello and welcome to recipe #11, my oh my it is just flying by.....today brings in a little warmth we are up to 53 degrees. Spent some of the day outside with the boys in their fort they have all built. Imagination is a wonderful thing. I took some great photos and then it started up with a very cold rain which brought us inside. The homemade Irish Cream Liqueur recipe is one that was given to me by a dear coworker of my moms from the 80's Nancy Blato. I have made it often although it has been a few years now. It makes a great gift or cocktail for a dinner party at the holidays. So easy too. I bought one of the wine gift containers from Joann's Fabrics for $1.79 and will be giving this gift on Christmas Day. It is actually very yummy but I can only imagine extremely fattening. The bottle I used was a recycled bottle which you could put a label on and/or etch. Super easy gift!!
         The picture of the pizza oven is a vege pizza and oh so yummy!! I think hubs is becoming a pro!! LOL!! Tomorrow I have a card I did and a yummy recipe. So stay tuned.....
    Homemade Irish Cream Liqueur
1 1/4 cup of Irish Whiskey
1 (14oz.) can of Eagle Brand Sweetened Condensed Milk
1 cup of whipping cream
1 cup of half/half
5 Tbs. of Hershey chocolate syrup
2 Tbs. of instant coffee
1  1/2 tsp. of vanilla extract
1/2 tsp. almond extract
Combine all the ingredients in the blender; blend well.....refrigerate or pour over ice. Can be in refrig up to 20 days shake before serving .
Keep this in the refig. until time to gift give or drink. Remember always drink responsible. Not for anyone under 21 years of age. It is very sweet and tasty but can be very powerful so be careful. Take care and have a wonderful holiday. Cyber Hugs, Dawn Gallop
Related Posts Plugin for WordPress, Blogger...