 |
The Under the Sea Party for Dusty's fifth birthday....was a lot of fun I handmade this cake using fondant from Wilton. I dyed most of it by buying the 5lb box of fondant. I also used a lot of molds that I had and ones I bought from Wilton. The jewelry fondant mold, the sea life mold. I also hand shaped a lot of the pieces. I used the pearl dust to color the pieces. The cake board is also Wilton. It was a lot of fun, if you are making a fondant cake prepare your pieces about a week in advance so they can harden....makes applying them to the cake easier and there is less breakage.
Hand made the large flowers.

The seahorse was a mold I had.
 I also got the eyes from Wilton 
Love the turtle too....again a mold I had.
 I found on Etsy this custom made Printables which I love to use...it makes it so EASY!!! This theme came from Its All About KIDZ Annie was absolutely amazing to work with...I would tell her what I needed and DONE!! She had it done within a very short time like minutes and I was back to printing for the party. This year was not as big as the Shark Party but time is always of the essence. The printouts were perfect and coordinated well with the party. 
I bought this big banner at Party City

The party sign also came from Party City

These are the buckets that I got from the Dollar Tree, the stuffed animals also came from the Dollar Tree, we also put fishing poles and crab toys that came from the Dollar Tree, there were also sea urchin balls, water guns, and the hard plastic sea creatures. Beverly brought out bubbles for everyone which also became a party favor. Of course Swedish Fish for a party favor too. I also put out a large bowl of them and of course they were all gone....talk about a yummy snack.
  
All the animals we had that the boys collected from their toys to make up decorations....we used Ty Beanie Babies, Disney stuffed toys, pool toys, plastic sea creatures, etc. The nets are from the ones I used last year at the Shark party where I dyed the nets to match the theme. The nets came from Dollar Tree.

Again another sea creature from Dollar Tree the swim goggles came from both Dollar Tree and Dollar General which Dollar General has a coupon day which the coupons are on their website. The star (fish) glasses came from Dollar Tree which they also have a Wal-Mart if you can't find them at Dollar Tree. Dollar General has a great selection of plastic outdoor serving plates, platters, bowls, and baskets. The ones shown came from the Dollar General.

The hats came from Michael's in the clearance section for .50 cents....which I was going to add a turtle cut0out to the hat using either my Cricut or Silhouette. Which would have been so cute....but time was of the essence. The plates, napkins, table runner, banner, cups and many other items all came from Birthday in a Box.
 
Just a pic of the wrapped plastic ware so you could see not in the cup. These could be made days in advance of the party.
 We used the Deer Park 8oz minis for the water bottles. We kept them in the refrigerator up until the party started. 
Of course every party needs gummy worms.

And the sour octopus.....there are so many of these type of gummies that children really like and I do recall a few adults enjoying them. LOL!!!
You can really see the Tervis lobster cups here.
 
This was in a Pillsbury Cookbook, they have mustard eyes and mouth. I just thought of a name to fit the party that Annie made at All About Kidz the sign for Squid Dogs
I made the noodles from a package of Ramen noodles
and then once cooked added several drops of green food coloring to create a seaweed look. We also found the Goldfish in rainbow colors to use.   
Bruce cooked turkey hot dogs, hamburgers and of course vegan bean burgers....which everything was gone!! I also made vegetarian baked beans. We had chips and French fries too.

I bought these fabulous streamers from Party City they really added a fun look to the party.

We got this cute whale piñata at Amazon.
Dusty thought it was so nice.
  Cooper here with the fun bubble wands. Look at the starfish glasses on. 
Look at all those wonderful fun bubble wands that Beverly brought.
 
Cooper was running thru the bubbles....again a lot of bubble FUN!!
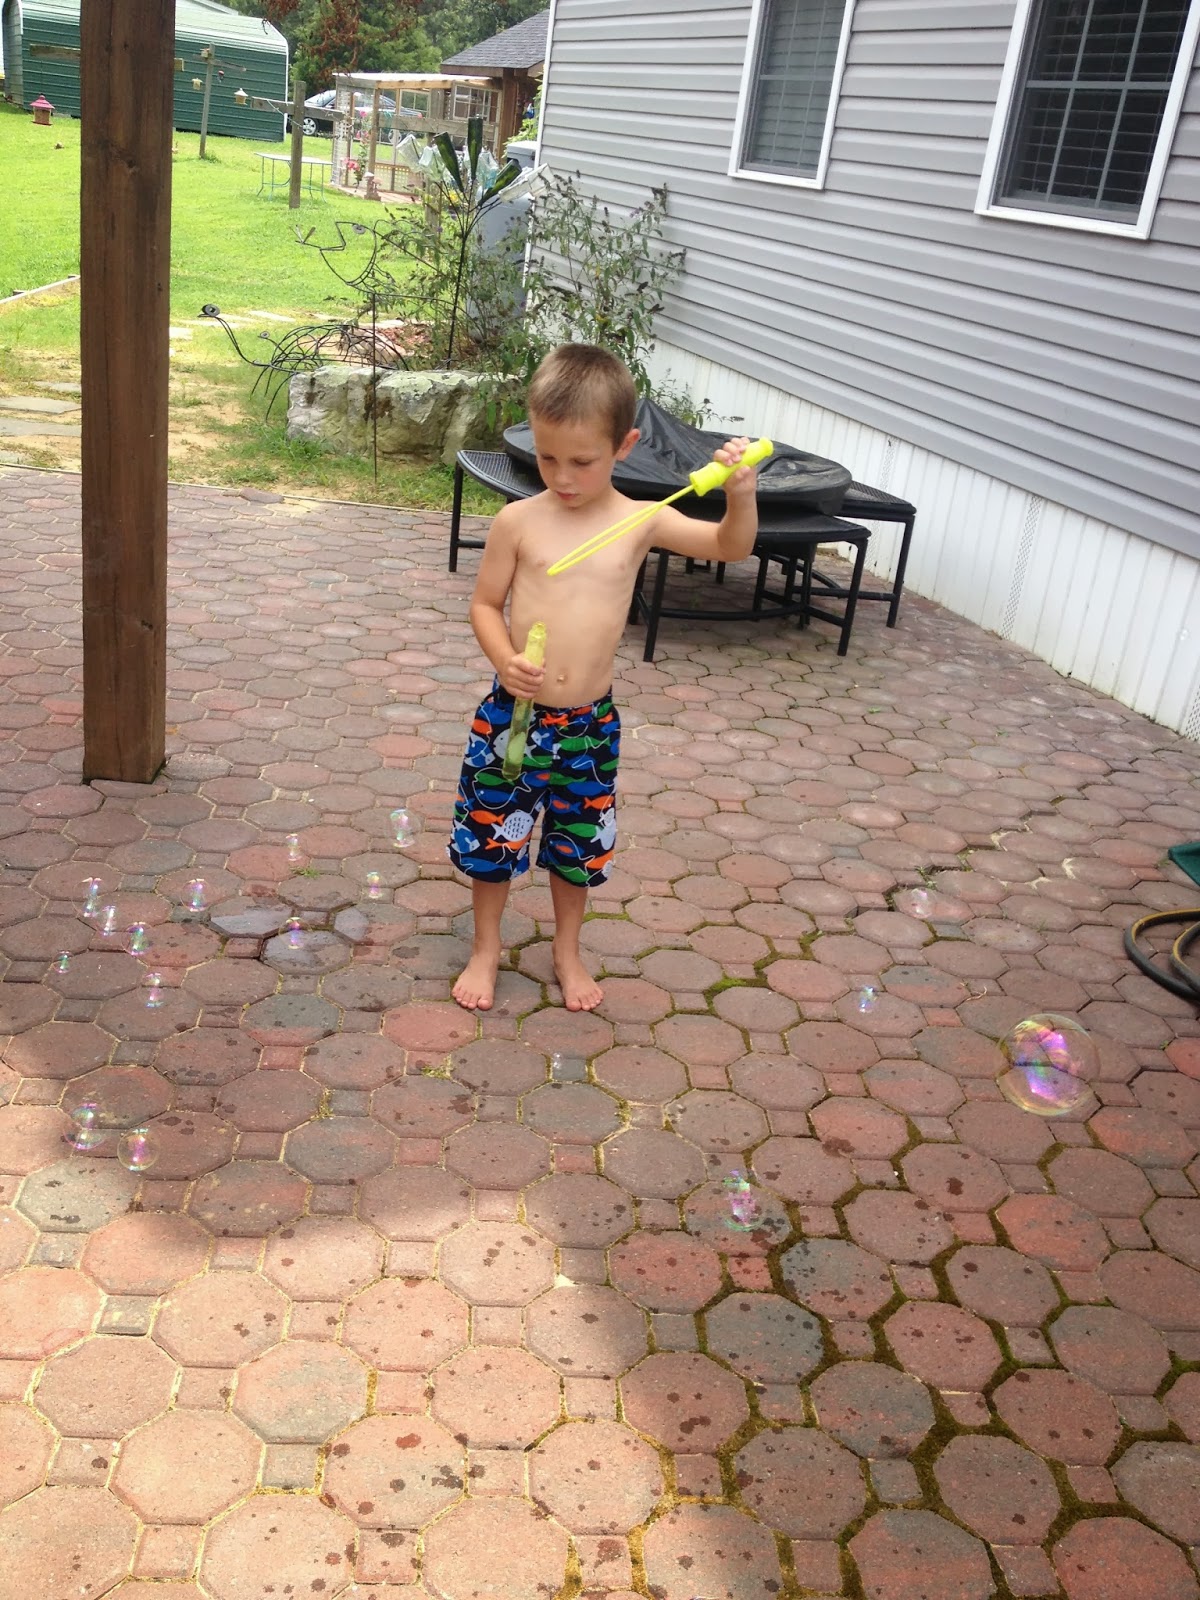 
I made the cups using a turtle cut from Silhouette of America on my Silhouette Cameo
the Dusty is 5 on the straw are from Annie again at Its All About Kidz
I found the cups this time at Dollar Tree.
The vinyl is from Vinyl Village Mario has the best vinyl and I purchase all my vinyl from Vinyl Village.

The banner came from
The turtle I made with the boys and cardboard. It is all paper Mache' we were going to use that as the piñata but once we had made it the boys didn't want to crush it...lol!I found a recipe on YouTube see video below
This worked perfect for the piñata
  
The eyes are a ping pong ball cut in half. I painted the whole thing with acrylic paints.

Finally time for some cake.

Dusty blows out the candles......YAY!!!!! Dusty is 5
  I think Sky bear really enjoyed the chocolate cake. 
Look how adorable she is!!!
 
Abigail enjoys herself at the party.
 
Bruce had got the ladybug floatie toy from Dollar General, Skylar really got to enjoy that off and on this summer.

The famous whale floatie again from Dollar General, Michelle, Kaleb, and Jamie having a good time in the pool.

Cooper and Cody soaking up the rays.
 
Cooper loves to swim.

Dusty jumping off the pool, that he is not supposed to do....lol!

Sky bear was getting sleepy in all the festivities.
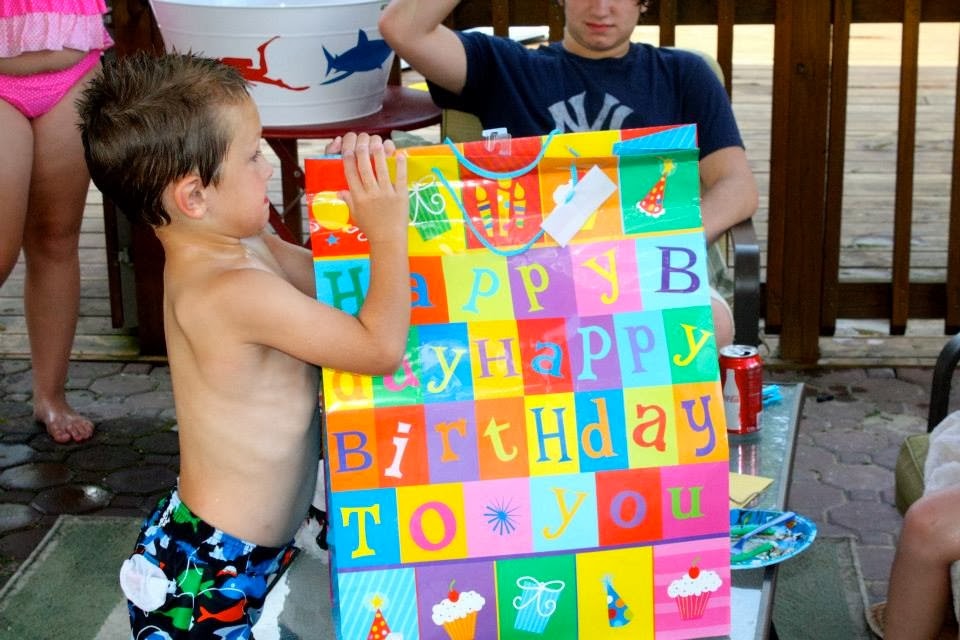
Oh yeah the time Dusty had been waiting for.......PRESENTS!!!

Crystal got him this Glow Pet
which he had been asking for every since he saw the commercial.

Tara got Dusty the shark pool board which Dusty loves anything shark related!!!

I think Skylar wanted in on the action.....

We had got him a drum set so Beverly covered his eyes until we let him pull the sheet off.

He is ready now......

Go Dusty!!!
I bought the drums from Amazon.
This is my first video upload other than YouTube....so we shall see.....
  Skylar was even playing the drums. 
The Piñata of course was a huge hit.....always make sure you keep everyone in a certain area away from the swinging piñata bat. I got the piñata at Amazon
 
The candy pick up begins...
The piñata video      I hope you enjoyed the Under The Sea Party. I know we did!!!! Thanks for looking.  |
Wednesday, November 6, 2013
An UnDeR The SeA PaRtY with and UnDeR The SeA CaKe


Tuesday, October 29, 2013
Canning Tomatoes, Tomatoes, Tomatoes, Canning Tomatoes Made EASY!!!


First wash and inspect all of your jars for nicks, cracks, any breaks (discard if any are seen). You don't want to have any types are cracks in the glass or dings because they can cause breakage in heat changes, and bacteria can grown in the cracks. You can buy jars HERE

Begin by filling up your canning pot with regular tap water, place the jars carefully into water submerging them (you can also just use a small amount of water to make steam) you are making sure that you kill any bacteria on the jars before placing the tomatoes in the jars. Cover the pot and allow approx. 5 minutes to steam the jars.

Cover your pot and allow the jars to steam for approx. 5 MINUTES and then the jars will be ready to fill, leave the jars in the hot water (approx. 180 degrees) until you are filling each jar, remove as needed from water bath canner.

Once you have your jars ready (or while getting the jars ready) boil some water on the stove top with a metal strainer of some sort like pictured. This will be the water that you will dip the tomatoes in to make the skins blanch.

Now place the already cleaned tomatoes in the boiling water (inside the metal strainer basket)
watch for the skins to crack or split. See pic below.

Once they split they will be ready to dumped from strainer into cold water.

While the tomatoes are cooling some in the cold water (just a few minutes or until you can touch without burning yourself) begin inspecting lids (flats) and rings. Make sure there is no rust, no dents, misshaped flats (lids). You will now place the flats in a pan with water of a temp approx. 180 degrees. I use a thermometer so not to get too hot. Canning jars can be purchased HERE

Using the thermometer for the flats (lids).
You can buy a thermometer HERE

Now start peeling off the hot tomatoes to remove skins and core. Remove bad spots and/or green areas. If the tomato looks questionable I smell it....if it smells ok then its fine...but if has a sour smell or just plain weird smell discard.

Once you are done peeling place large pot on stove top to allow tomatoes to boil, I usually crush my tomatoes but you can leave whole just add water as needed. I like to crush them so I can add to soups, make tomato pudding, add to chili....its endless. The whole ones take up to much jar space...I can get more crushed tomatoes in the jars which is less shelf space too. If you like to crush them I use a potato smasher at this stage.

Using the potato smasher to crush the tomatoes.

The tomatoes will look like this crushed.

While to tomatoes are coming to a boil, begin to prepare your area for putting the tomatoes in jars, your jars are still in the water bath canner. I got a new canning tool set this year.....which I still have my stuff from my early 20's...and it still works! Sometimes I use several funnels so we needed to have an extra one. The canning kit can be purchased HERE

You will need canning salt, lemon juice. I showed you the canning salt bag also. You can buy it HERE. I buy it at the hardware store, and at Wal-Mart. Wherever they sell canning supplies.

The tomatoes will look like this when they are ready to be put in jars. They will get a foam on top no worries....

Again I visually inspect the jars again (they are hot) I use the jar lifters (sold HERE) to take the jar out of the water bath canner. Place the funnel on the jar and then begin pouring the tomatoes in the jar.

Ladle the tomatoes out of the pot, and into the jar with the funnel.

Ladle the tomatoes into the funneled jar. Be careful not to splash to avoid burns.

This is where you will place the lemon juice I Tablespoon for each pint jar, I only use quarts but for smaller families a pint is better. 2
Tablespoons for quart jars. See pic below. Also add the canning salt 1/2 teaspoon for pint jars. 1 Tablespoon for quart jars of the canning salt. I add this on top to avoid any temperature changes, versus adding to bottom. However you could ladle one ladle full of tomatoes in the funnel topped jar and then add the lemon juice and canning salt. Now remove the funnel and wipe the jar rim with a towel, I use a kitchen towel with a damp side and a dry side. Wipe first the rim with the wet side then, dry side. Remove the flats from the water pot and dry, now place on the clean rim of the jar. Using the hot pad to place the ring on jar and gripping tightly to tighten jar. Now set aside on a towel until you have all the tomatoes in the pot in jars. Your water bath canner will now be empty of empty jars. The water is still hot (if not you will need to heat back up but not to a boil) with the jar tongs SLOWLY place the hot tomato jars into the water bath canner which you will already have your elevated basket rack (that came with the water bath canner) it looks like THIS

Adding the lemon juice. Directions one pic up.
1 Tablespoon of lemon juice to pint jars
2 Tablespoons of lemon juice to quart jars

Note the air bubbles and the headspace left you will want about a 1/2 inch space for the tomatoes. If you overfill remove with a spoon, re-wiping rim of jar if you spill any tomatoes on the rim.

Now using a spatula like pictured above that will come with a water bath canning kit
look HERE to remove the air bubbles just SLOWLY move wand pressing back and forth around jar to remove any trapped air. DO IT SLOWLY as to not create more air.

This is where the lids (flats) were in the 180degree water waiting for you to place on the rim of the jar. Remove with the magnetic wand that comes in the canning kit again, see links above.

Here is where you will wipe the rim of the lid, first with the wet side of cloth and then once with the dry side. Making sure there are no tomatoes left on the rim.

Once you take the flat from the water using the magnetic utensil use a dry kitchen towel dry off the flat and place on the rim of the jar.

Using the hand towel (since the jar is HOT) place ring on flat and tighten.

Place the jars SLOWLY into the hot water. Do not drop.

Once all jars in the canner you can place lid on water bath canner and cover until they begin to boil and process for 40 minutes for pints and 45 minutes for quarts. Then remove lid and allow to cool down before removing from the canner. I use a towel to place them on to cool. You will here that POP that is the seal on the can.

Boiling the water in the canner.

YAY!!! Done!!! Take and tap on each lid to see if it sealed once cooled. If it did not seal use immediately or refrigerate up to one day. The lid will be tight and will not move up and down. Now sit back and look at the art of canning you created!! Bravo! Now label your jars with the date and tomatoes.

These were some of my tomatoes this year.....they were huge! Very taste too!

Look at all the tomatoes.

Washed and clean tomatoes ready to go in the pot to blanche.

Look at what we got from the garden in one picking. Dusty loves to help work in the garden. Look how nice the cucumbers are. Dusty had just had his birthday party like the day before when we took the pic.

This pic was taken at Target but I wanted to remind you if you have not gotten them this year do so. They are sold here as a #1 Seller HERE. They also had them at Michael's Arts and Crafts. These would be so good for a wedding, a party....we even made the straw cups out of them. You can go HERE to see them (her blog is so much fun) you will be there forever......pin away too!
I also have the steps to blueberry jam HERE
Also want you to invest in a Ball Blue Book, I have several copies of this from the first one I bought in 1990, and one around 2000 and the newest one I bought this past summer. Things change in them so PLEASE keep yourself up to date in the changes in the canning world.
You can find a copy HERE
also check out the many books that Amazon or Barnes and Nobles have to offer on canning...use the search canning books.
Thanks for stopping by.....feel free to ask me any questions.
HAPPY CANNING!!!
Monday, October 28, 2013
Halloween Day of the Dead Jewelry Blog Hop ~Boo it's Halloween Matey~ ~dia de los muertos necklace~

Hello and Boooooo a Big Halloween Welcome to the Halloween Day of the Dead Jewelry Blog Hop organized by Diana of Suburbangirlstudio. The link about the hop can be found HERE. It really is a pure honor to be in the blog hop with such awesome jewelry artist. I only ventured into the jewelry world in mid 2010, and have met some amazing talented artist along the way. The necklace that I made for the hop is what I am calling ~Boo it's Halloween Matey~. I will share more on this below.....if at any time you would like a quick direction of what blog is next please follow the links below.
Diana Ptaszynski http://www.suburbangirlstudio.com
Staci Smith http://www.stacilouiseoriginals.com/
Kathleen Breeding http://99bobotw.blogspot.com
Sue Kennedy http://www.suebeads.blogspot.com
Dianne Miller http://www.artbydianne.blogspot.com
Lisa Liddy http://www.lisaliddy.wordpress.com
Toltec Jewels http://www.JewelSchoolFriends.com
Linda Landig http://www.LindasBeadBlog.com
Laura Medeiros http://Www.zoeowyn.blogspot.com
Veralynne Malone http://www.veradesigns.blogspot.com
Lynn Jobber http://thecreativeklutz.blogspot.co.uk
Michelle McCarthy http://www.fireflydesignstudio.blogspot.com
Karen Totten http://www.starryroadstudio.blogspot.com
Jayne Capps https://mamasgottodoodle.blogspot.com
Jenny Davies-Reazor http://jdaviesreazor.com/blog
Joan Miller http://metalmudandsand.blogspot.com/
Melissa Trudinger http://www.beadrecipes.wordpress.com
Kari Asbury http://hippiechickdesign.blogspot.com
Inge von Roos http://www.ingetraud.wordpress.com
Andrea Glick http://zenithjade.blogspot.com
Stephanie LaRosa http://Www.stringaholic.blogspot.com
Lola Surwillo http://www.beadlolabead.com
Jennifer Cameron http://glassaddictions.com/blog
Diane Hawkey http://dianehawkey.blogspot.com
Kristi Harrison http://kristibasket-itsanewday.blogspot.com
Nicole Valentine Rimmer http://www.nvalentine.blogspot.com
Tanya Goodwin http://www.Pixiloo.blogspot.com
Shai Williams http://shaihasramblings.blogspot.com/
Sandra McGriff http://skyescreativechaos.blogspot.com
Sarajo Wentling http://www.sjdesignsjewelry.blogspot.com
Marie Covert http://thistledown-and-swaddlings.blogspot.com
Lisa Stukel http://www.carefreejewelrybylisa.blogspot.com
Laurie Vyselaar http://www.Lefthandjewelry.wordpress.com
Sherri Stokey http://www.knotjustmacrame.com
Pam Traub http://www.klassyjoolz.blogspot.com
Lori Dorrington http://lorisglassworks.blogspot.com
Kristen Stevens http://kristen-beadjourney.blogspot.com
Eleanor Burian-Mohr http://cornerstoregoddessjewelry.blogspot.com
Sally Russick http://thestudiosublime.com
Dawn M. Gallop http://www.flipflopsandpoptarts.com (you are here)
Christine Damm http://storiestheytell.blogspot.com


The focal bead I bought at Bead Fest from Maureen of Pumpkin Hill Beads it is a tiny gecko pirate on a pumpkin, with a peg leg. Immediately he was screaming buy me......and I completely obeyed. Just knowing I would come up with something. Of course Halloween came and went and he sat patiently waiting for his chance to shine.....I got up the notion to make a wire wrap necklace (which btw this was my first wire wrapped necklace) I used 16gauge sterling silver wire. I soldered the circles closed and the jump rings.
The bead is amazing!!

The orange beads came from Sue Beads

The candy corn beads came from Melanie at Moonraker Lamp Werks
along with the candy corn striped pairs.
The small lime green and yellow spacer beads came from Michelle at The Spacer Bead Shop.
But Wait I'm not finished.............
Since it was a Day of the Dead blog hop too......I made but of course a Day of the Dead necklace with this totally rocking pottery pendant......from
yep you guessed it
Jenny Davies-Reazor http://jdaviesreazor.com/blog

it was love at first sight.......for me anything skull, sugar skull, I'm there!
On Friday night I put this together while watching When Ghost Attack.
I used stone faceted beads that I bought at Bead Fest.
I used the tutorial on Ornamentea of the Laced Heart Necklace by Cynthia Deis which I had made before so I knew that was the plan for this necklace. I also used two Elaine Ray beads the cherry jam rounds.

I had made the copper clasp earlier that day knowing I was going to get the necklace made. I just love all the little dangles of beads Jennifer added to the sugar skull.
and for the last but not least I bought these beads at Sue Beads while at ArtBliss knowing I was going to make earrings to match the ~Boo it's Halloween Matey~ necklace and already knew the style I was going to use for the earrings and of course lime green is my favorite color...

The earring are the stir-up style I learned in class with Stacie Florer last year at ArtBliss which seriously took me a year to acquire all the tools to make...lol!!!

again the lime green beads came from Sue Beads
Sue Kennedy http://www.suebeads.blogspot.com
I made them Friday during the day and have been wearing them every since....I just love Stacie's design.
Well that's a wrap are you scared now or ready to make some jewelry???
I know I am ready hop to be inspired by all the amazing artist in the hop!!!


These are mask I will be making a post on November 2 for Day of the Dead.
Happy Halloween
Day of the Dead
thank you so much for stopping by enjoy the hop
Subscribe to:
Posts (Atom)
